
Step-by-Step Guide: How to Restring a Wall Mounted Clothesline?
Importance of Restringing Your Wall Mounted Clothesline
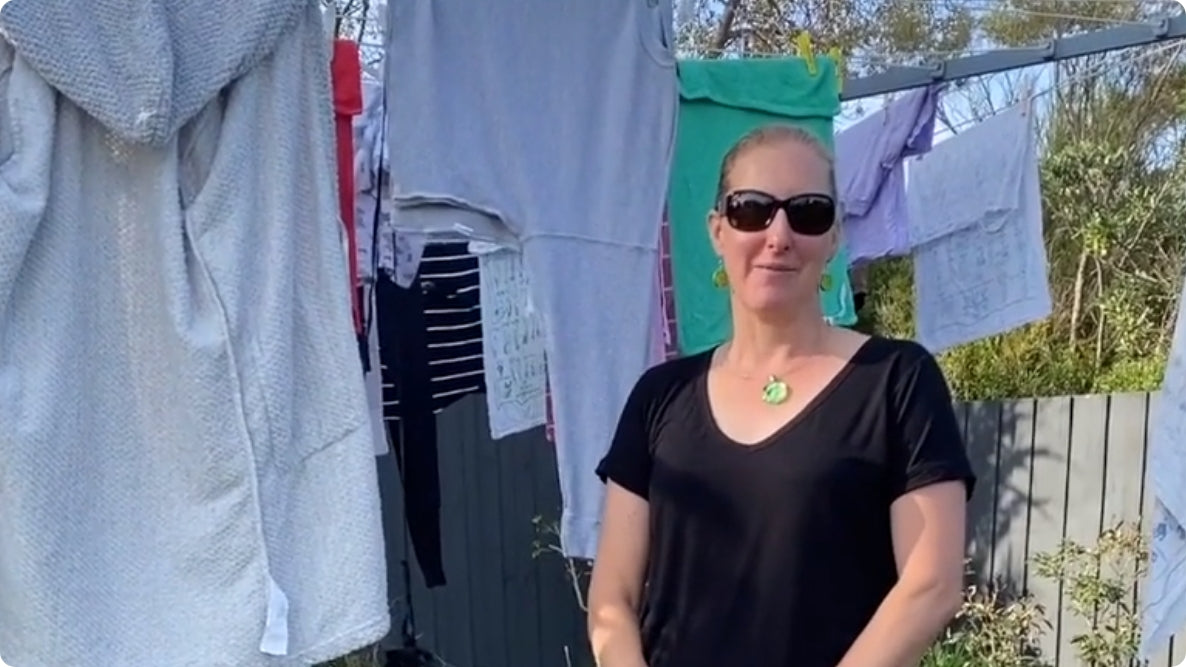
Restringing your wall-mounted clothesline is a crucial maintenance task that often goes overlooked but holds significant importance for its functionality and longevity. Over time, exposure to weather elements, repeated use, and general wear and tear can degrade the integrity of the clothesline, leading to sagging, fraying, or even breakage. In this brief guide, we'll delve into the importance of restringing your wall-mounted clothesline, highlighting the benefits it brings in terms of durability, efficiency, and safety for your laundry drying needs.
Benefits of Properly Maintained Clotheslines
-
Safety: Over time, the original line can degrade due to exposure to sunlight, weather, and wear and tear. Weak or frayed lines can break unexpectedly, posing a safety hazard to both yourself and others, especially if you're hanging heavy items like wet laundry.
-
Durability: Regular restringing helps maintain the structural integrity of the clothesline. By replacing worn-out lines, you ensure that the clothesline can continue to support the weight of your laundry without sagging or breaking.
-
Efficiency: A taut and sturdy clothesline is more efficient for drying clothes. If the line is sagging or damaged, it may not provide enough support for your laundry, leading to longer drying times or the need to rehang items.
-
Prevention of Damage: A weak or damaged clothesline can cause clothes to drag on the ground or become tangled, leading to potential damage such as stains, tears, or stretching. Restringing the clothesline helps prevent such damage, prolonging the life of your clothing.
-
Aesthetic Appeal: A well-maintained clothesline contributes to the overall appearance of your outdoor space. Restringing the line ensures that it remains neat and tidy, enhancing the visual appeal of your backyard or laundry area.
Preparing for the Restringing Process
-
Assess the Condition of Your Clothesline: Begin by inspecting the current state of your clothesline. Look for any signs of wear and tear, such as fraying, rust, or damage to pulleys or hooks. Assessing the condition upfront will help you determine if any additional repairs or replacements are needed before restringing.
-
Gather Necessary Tools and Materials: Next, gather all the tools and materials required for the restringing process. This typically includes a new clothesline, scissors or a utility knife for cutting the line, gloves to protect your hands, measuring tape, and any additional hardware like connectors or pulleys if necessary.
-
Choose the Right Clothesline Material: Consider the type of material you want to use for your new clothesline. Traditional options include cotton, nylon, or polyester. Each material has its own set of advantages and considerations, such as durability, weather resistance, and stretchiness. Choose a material that best suits your needs and climate.
-
Measure the Length Needed: Before purchasing the new clothesline, accurately measure the length needed to span the distance between your clothesline posts or hooks. Add a few extra feet to account for knots and adjustments during the restringing process.
-
Clear the Workspace: Clear the area around your clothesline to create a safe and clutter-free workspace. Remove any obstacles or debris that could hinder your ability to work efficiently. This will also help prevent accidents and ensure easy access to the clothesline during restringing.
-
Consider Environmental Factors: Take into account environmental factors that may impact the restringing process, such as weather conditions. Avoid restringing your clothesline on windy days or during inclement weather, as this can make the task more challenging and affect the outcome.
-
Wear Protective Gear: While restringing a clothesline is generally a safe task, wearing protective gear such as gloves can help prevent minor injuries and ensure a comfortable working experience. Gloves also provide better grip when handling the clothesline and protect your hands from rough edges or splinters
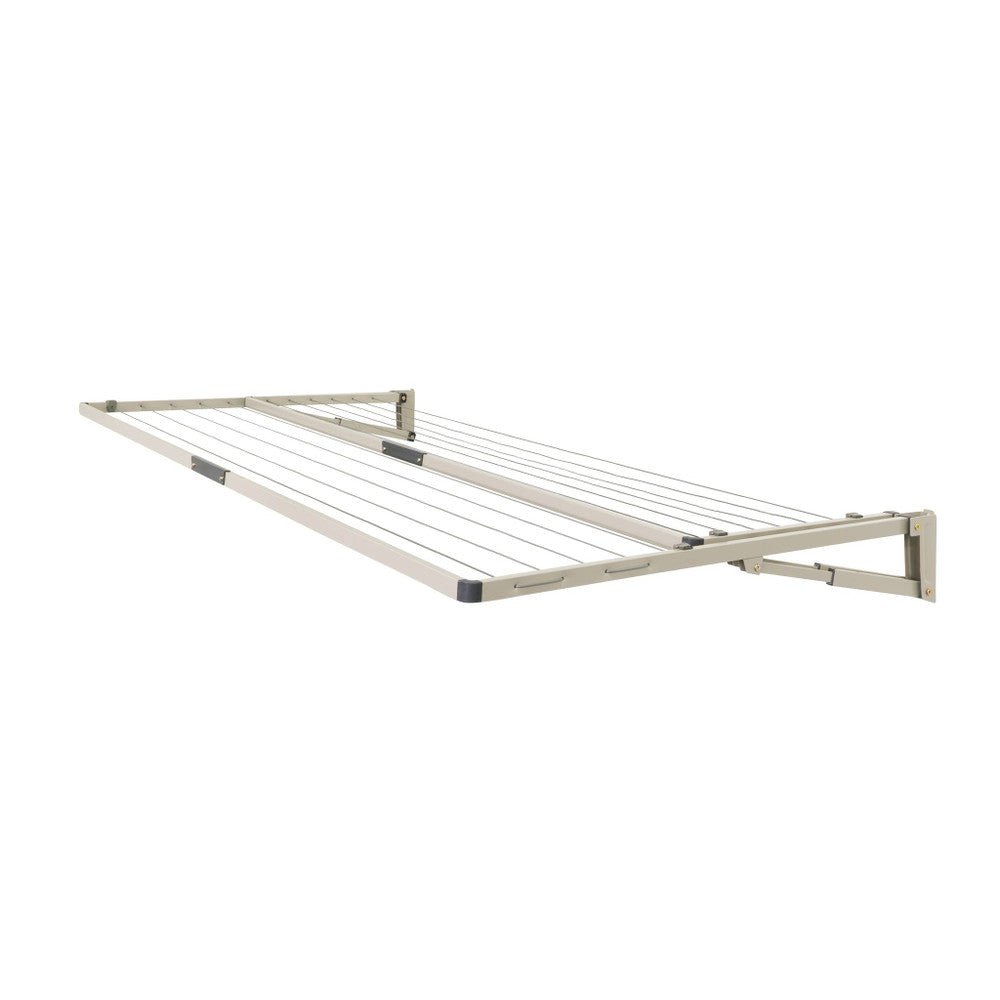
Tools and Materials Needed
-
New Clothesline: The most crucial item for restringing a clothesline is, of course, the new clothesline itself. Choose a high-quality line made from durable materials such as cotton, nylon, or polyester, depending on your preferences and climate.
-
Scissors or Utility Knife: You'll need a sharp pair of scissors or a utility knife to cut the clothesline to the desired length. Opt for a tool with a sturdy blade that can easily cut through the material without fraying or damaging it.
-
Gloves: Wearing gloves is recommended to protect your hands during the restringing process. Choose gloves that provide a good grip and offer protection against blisters, splinters, or rough edges.
-
Measuring Tape: A measuring tape is essential for accurately determining the length of the new clothesline needed to span the distance between your clothesline posts or hooks. This ensures a precise fit and proper tension when restringing.
-
Connectors or Pulleys (if necessary): Depending on the design of your clothesline, you may need connectors or pulleys to secure the clothesline and guide it along its path. Check your existing setup and gather any additional hardware needed for the restringing process.
-
Ladder or Step Stool: If your clothesline is installed at a height that requires reaching overhead, a sturdy ladder or step stool will be necessary to access the installation area safely. Choose a ladder with non-slip feet and ensure it's positioned on a stable surface.
-
Safety Glasses (optional): While not always required, wearing safety glasses can provide added protection for your eyes, especially when cutting or manipulating the clothesline. Consider wearing them if you're working in a windy environment or handling materials that may produce debris.
-
Clear Workspace: Ensure you have a clear workspace free of clutter and obstacles. This will make it easier to maneuver and work efficiently during the restringing process. Remove any items that could potentially get in the way or cause accidents.
Choosing the Right Type of Clothesline Cord
-
When choosing the right type of clothesline cord, consider factors such as durability, weather resistance, texture, and maintenance requirements. Whether you prioritize eco-friendliness, longevity, or affordability, there's a suitable material available to meet your needs. By selecting the perfect clothesline cord, you can enjoy efficient and reliable laundry drying for years to come.
Identifying When Restringing is Needed
A well-functioning clothesline is a convenient and eco-friendly way to dry your laundry. However, over time, the clothesline cord can wear out, leading to decreased efficiency and potential safety hazards. Recognizing the signs that indicate it's time to restring your clothesline is essential for maintaining its performance and prolonging its lifespan. In this guide, we'll explore common indicators that signal the need for restringing your clothesline.
-
Fraying or Breakage:
-
Sagging or Uneven Tension:
-
Visible Wear and Tear:
-
Difficulty in Retracting or Extending:
-
Excessive Stretching:
Step-by-Step Guide to Restringing
Removing the Old Line
Removing the old line from your clothesline is a straightforward process. Begin by cutting the line down carefully, using scissors or a utility knife. Once cut, unravel the line from the posts or hooks, taking care not to damage any fixtures in the process. Discard the old line responsibly, ensuring proper disposal to minimize environmental impact. With the old line removed, you're ready to proceed with restringing your clothesline for optimal functionality.
Unhooking and Cutting the Old Line
Unhooking and cutting the old line from your clothesline is the initial step in the restringing process. Start by carefully unhooking the line from the posts or hooks, ensuring no damage is caused to the fixtures. Once unhooked, use scissors or a utility knife to cut the line down, making sure to dispose of it responsibly. This clears the way for the installation of a new, sturdy line, revitalizing your clothesline for efficient use once again.
Tips for Easy Removal
For easy removal of the old line from your clothesline, consider a few helpful tips. First, make sure to wear gloves to protect your hands from any sharp edges or splinters. Next, if the line is tangled or tightly wound around the posts or hooks, gently untangle it before attempting to unhook or cut it. Using a sharp pair of scissors or a utility knife will make cutting the line easier and more precise. Additionally, if the line is particularly stubborn, applying a lubricant, such as WD-40, can help loosen it for smoother removal. By following these tips, you can simplify the process of removing the old line and prepare your clothesline for restringing efficiently
Threading the New Line
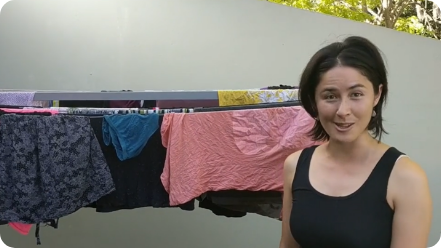
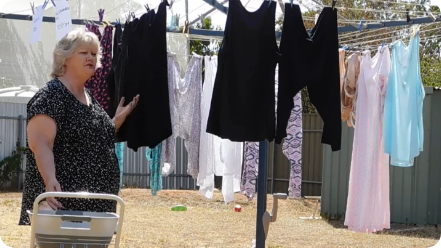
Threading the new line through your clothesline is the next crucial step in the restringing process. Begin by securing one end of the new line to a fixed point, such as a post or hook, using a secure knot or connector. Then, carefully thread the line through the pulleys or hooks along the length of your clothesline, following the same path as the previous line. Ensure the line is taut and properly aligned as you thread it, maintaining consistent tension throughout. Once you reach the other end, securely fasten the line to its designated spot, ensuring it remains taut and secure. Testing the tension by hanging a few lightweight items can help ensure optimal performance. With the new line successfully threaded, your clothesline is now ready for use, providing a sturdy and reliable drying solution for your laundry.
Starting Point and Technique
When threading the new line through your clothesline, it's essential to establish a clear starting point and employ the right technique. Begin by securing one end of the new line firmly to a fixing point of the clothesline frame.
Ensuring Even Tension
Ensuring even tension throughout the restringing process is crucial for optimal performance of your clothesline. Begin by securing one end of the new line firmly to a fixed point, ensuring it's taut but not overly stretched. As you thread the line through the pulleys or hooks along the length of the clothesline, maintain consistent tension by gently pulling the line taut with each pass. Avoid pulling too tightly, as this can lead to unnecessary strain on the line and potential damage. Periodically check the tension of the line by running your hand along its length, adjusting as needed to ensure it remains even. Proper tensioning will result in a stable and reliable clothesline that can effectively support your laundry without sagging or stretching.
Securing the Line
Knots and Techniques for Securing the Line
When securing the line during the restringing process, choosing the right knots and techniques is essential for ensuring stability and longevity. Begin by anchoring one end of the new line securely to a fixed point using a reliable knot such as a square knot or a bowline. Ensure the knot is tight and will not slip under tension. When threading the line, follow the manufacturers instructions as this will ensure your clothesline cord will remain taught providing dependable support for your laundry.
Testing for Strength and Stability
Testing for strength and stability is a crucial step after restringing your clothesline. Once you have threaded the new line and secured it in place, carefully test its strength and stability by gently pulling on various points along the line. Ensure that the line remains taut and does not sag excessively under light tension. Additionally, hang a few lightweight items on the line to gauge its ability to support the load without stretching or slipping. Observe the line closely for any signs of weakness or instability, such as sagging or unraveling knots. Making any necessary adjustments at this stage will help ensure that your clothesline is strong, stable, and ready for regular use.
V. Tips for a Perfectly Strung Clothesline
A. Achieving Optimal Tension
B. Balancing the Lines for Even Weight Distribution
Common Mistakes to Avoid
-
Over-tightening the Line
-
Incorrect Threading Patterns
-
Neglecting Regular Maintenance
VII. Maintenance Tips for Your Restringed Clothesline
A. Regular Checks and Adjustments
B. Seasonal Considerations in Australia
Advantages of a Well-Maintained Clothesline
Longevity and Durability
To achieve optimal tension, begin by securing one end of the line firmly to a fixed point, such as a post or hook, using a secure knot or connector. As you thread the line through the pulleys or hooks along the length of the clothesline, maintain consistent tension by gently pulling the line taut with each pass. Avoid over-tightening, as this can strain the line and compromise its durability
Enhanced Efficiency and Capacity
Restringing your clothesline not only ensures optimal tension but also enhances its efficiency and capacity for drying your laundry. With a properly tensioned line, you can maximise the usable space on your clothesline, allowing you to hang more laundry items at once. This increased capacity means you can dry larger loads in less time, reducing the need for multiple drying cycles or additional drying methods. Additionally, an efficiently restringed clothesline promotes better airflow around your laundry, facilitating quicker drying and fresher-smelling clothes
Conclusion
Restringing your clothesline offers not only environmental benefits but also significant energy savings by using other forms of drying methods and gives you full utilisation of your clothesline and saves you the cost if buying a new one.